What started out as a simple, but functional one-animal cage that was underused by the current animal that was residing in it and was even more difficult to use by the keeper with regard to cleaning and maintenance has finally evolved into a two-story cage that is far easier to use and a better use of the space for animal and keeper alike.  Right now it houses the two largest female boas I care for, Athena and Joxer, each between 7 and 8 feet long .
Eventually I’d like to upgrade them to a similarly built five-foot long cage and move the slightly smaller two males into this one, but given my budget and space constraints, this will be the girls home for the next year. Â It’s still much, much better than what they had.
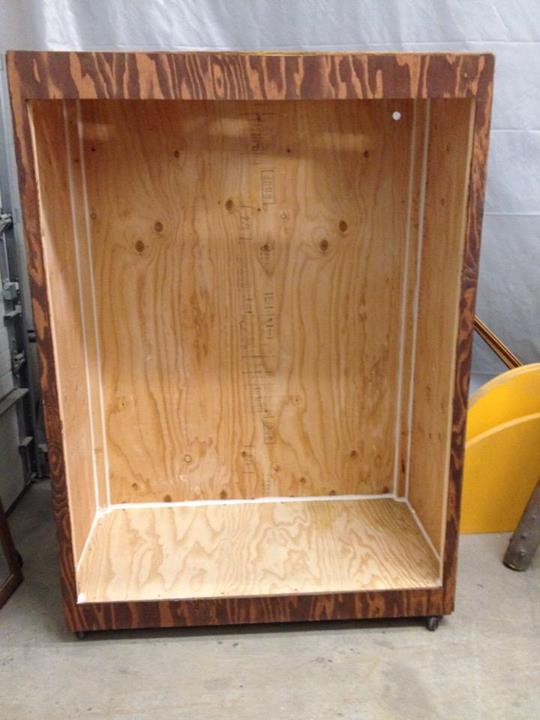
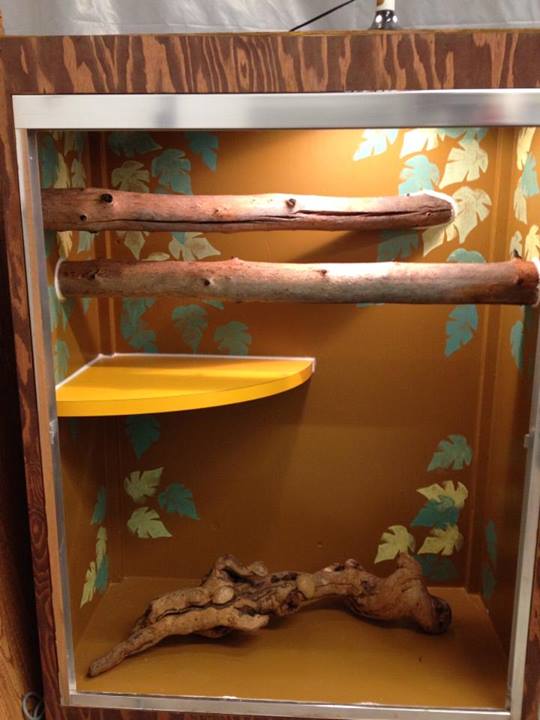
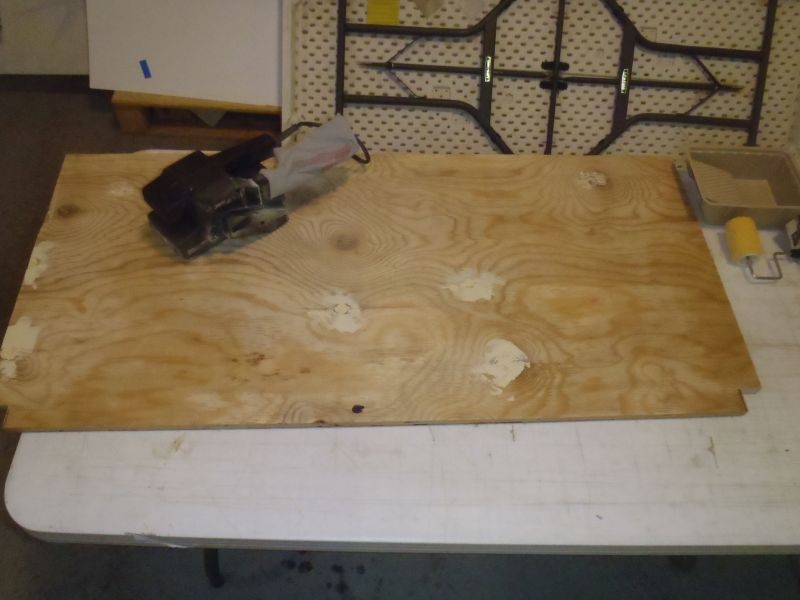
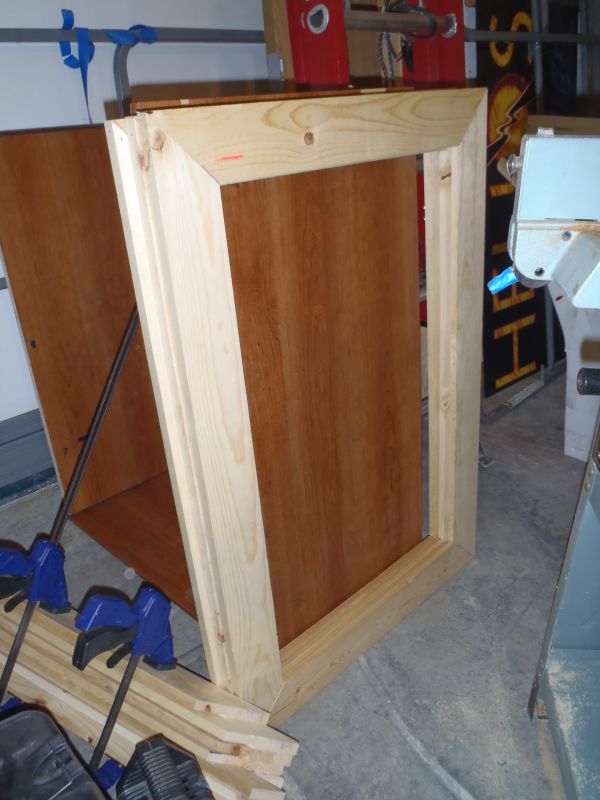
Stage one – splitting the cage into two levels so large snakes can have more room to move.
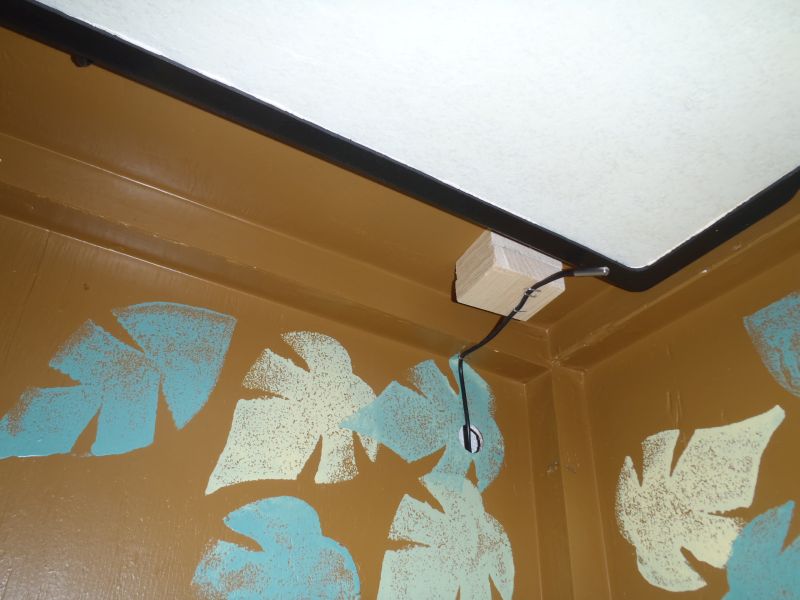
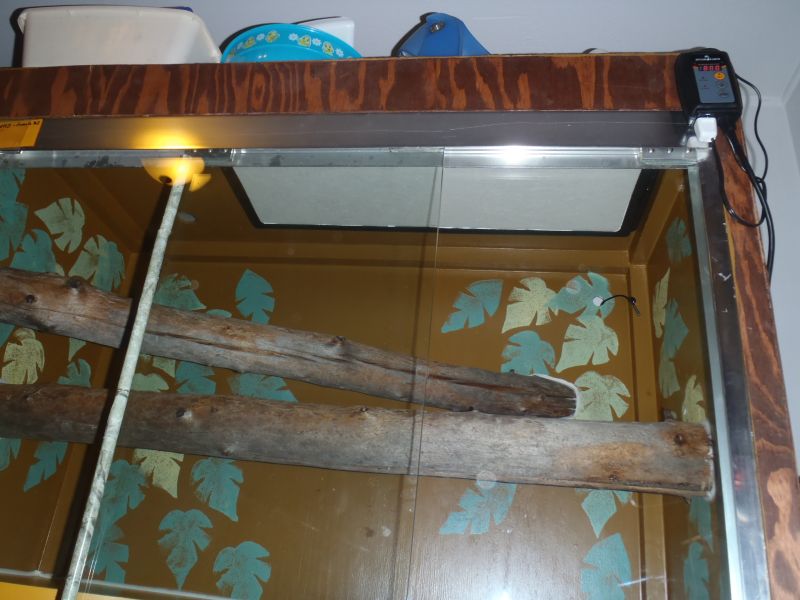
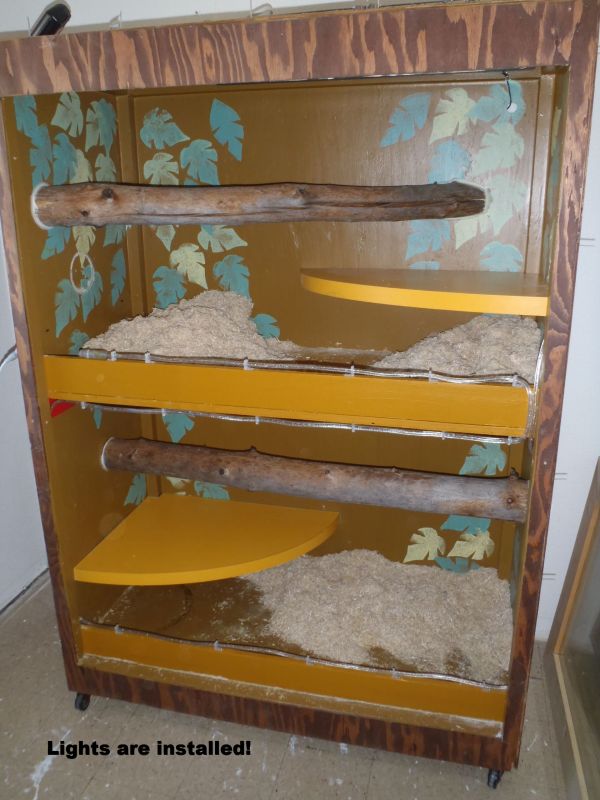
Adding radiant heat panels to both levels. Â I use RBI Radiant Heat Panels:Â http://www.reptilebasics.com/rbi-radiant-heat-panelsÂ
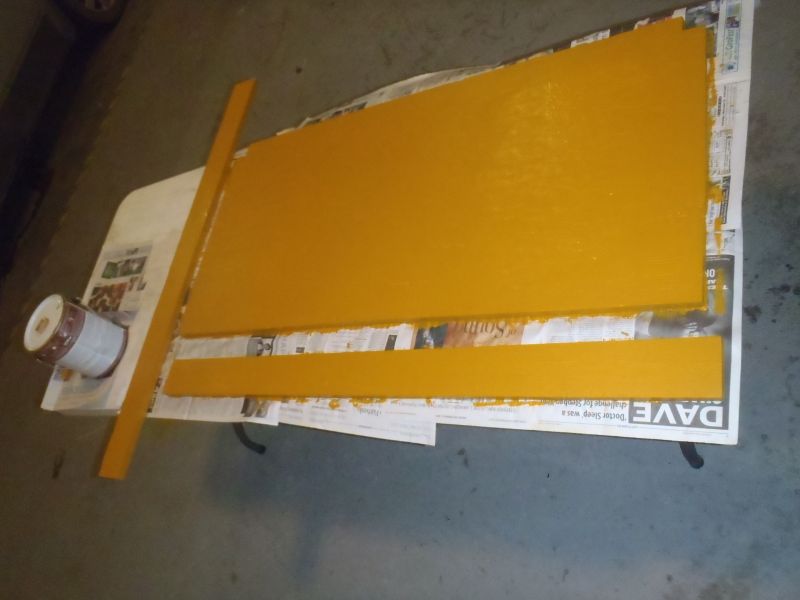
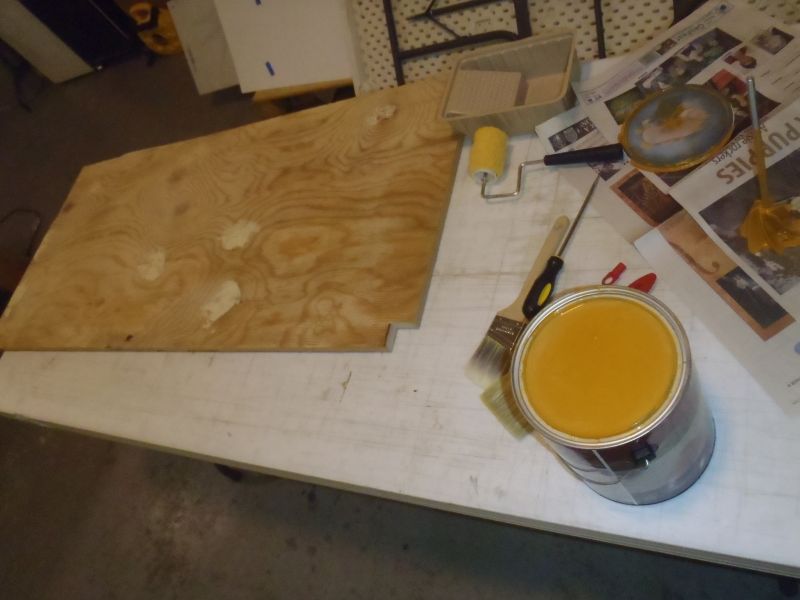
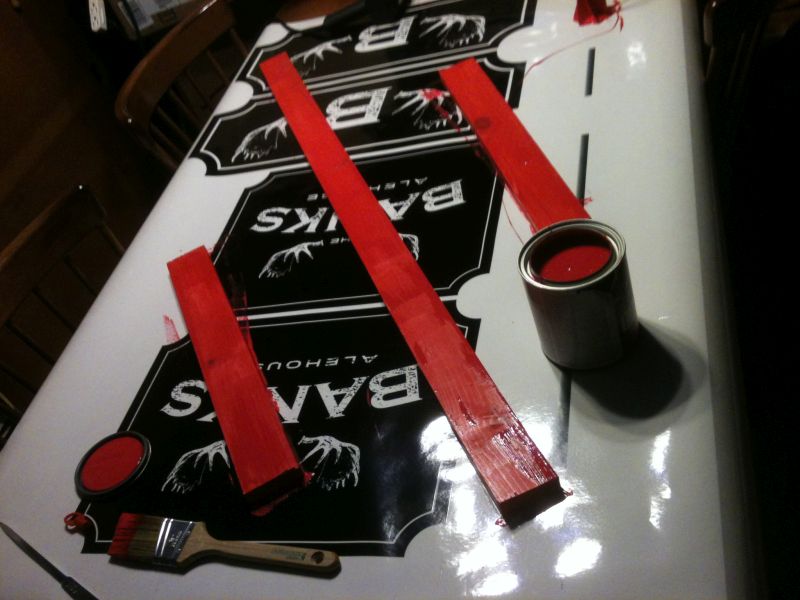
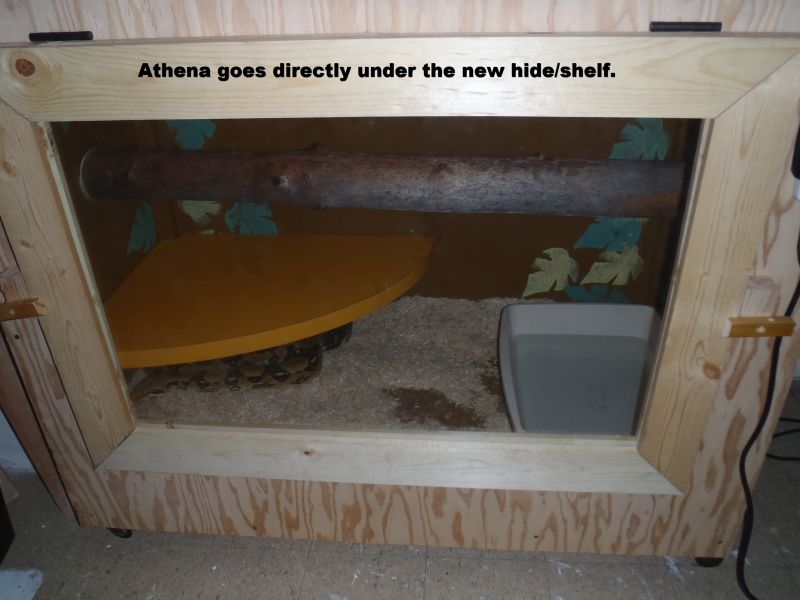
I forgot about painting the supports for the shelf until after we got everything home and since this was the only color paint I had, it is what we used. Â It’s under the shelf and not visible, so it doesn’t really matter, right?
My helper, Bug.
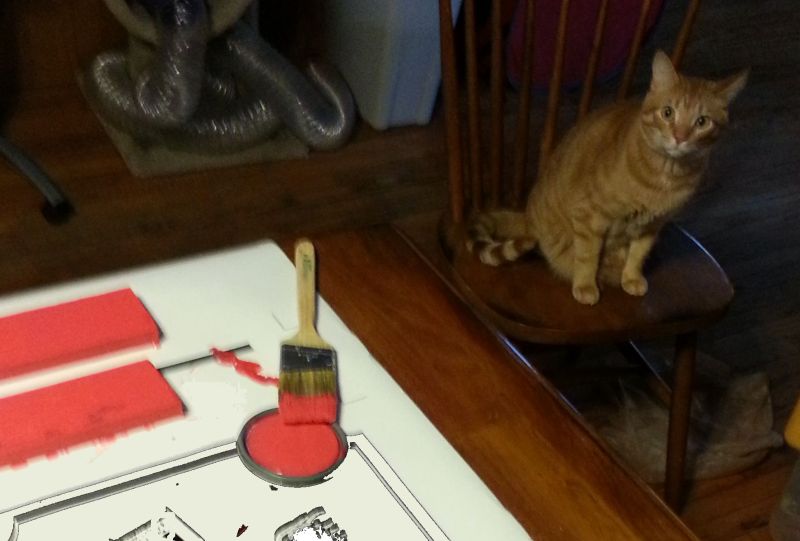
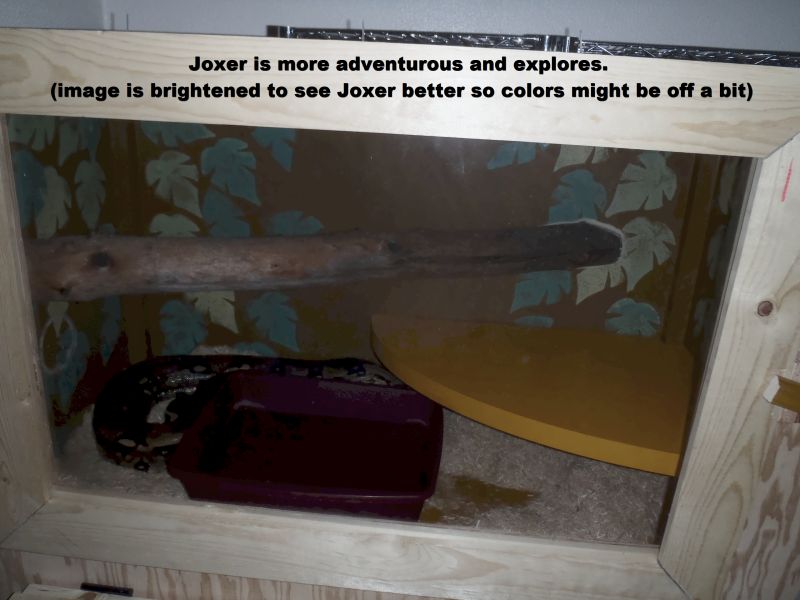
This is a perfect example of why I wanted to change the doors out. Â Due to the narrow opening, I had to use tall water bowls temporarily instead of the normal wide cat pans that I normally use since I find they are nearly impossible to tip over. Â Joxer, residing on the top level, almost immediately climbed into her tall water bowl, then dumped it out as she got out. Â Cleaning up the mess between the two cages with only about a foot-wide opening was a huge pain in the butt. It’s a good thing I’m also planning to rip out all that carpet this summer too…..
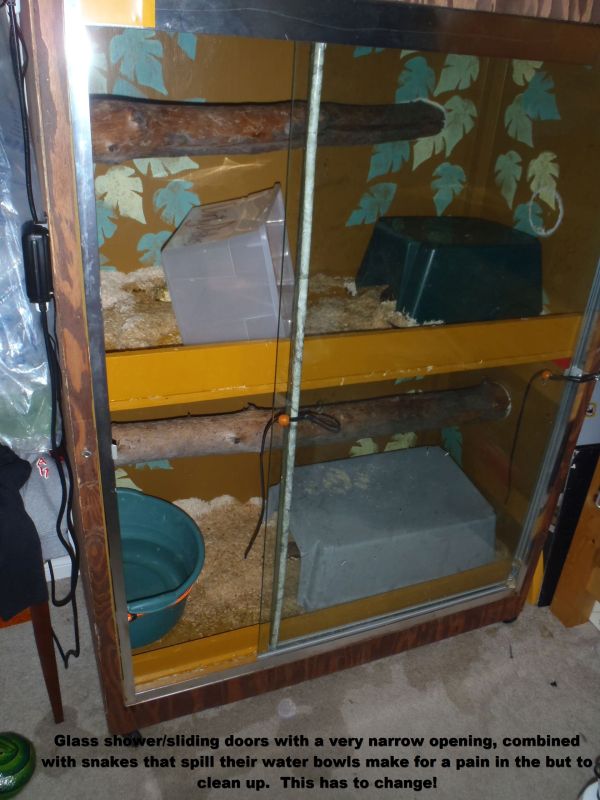
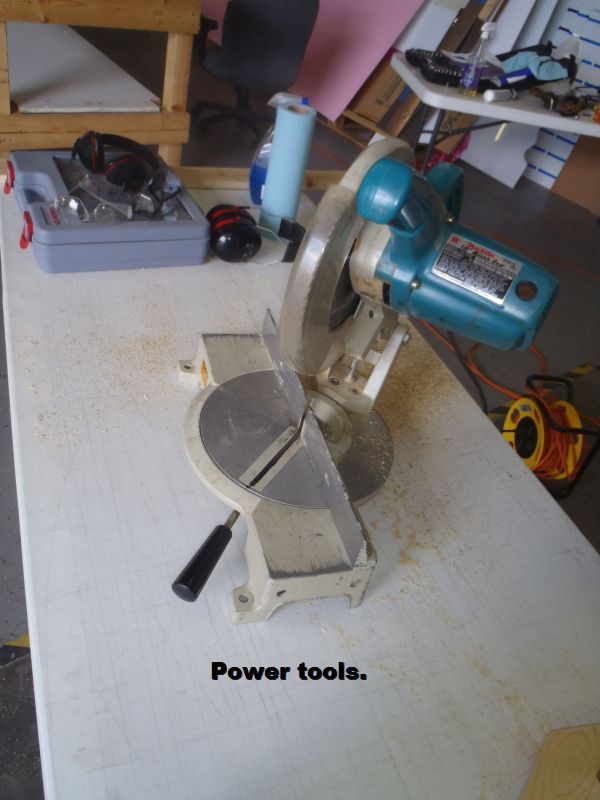
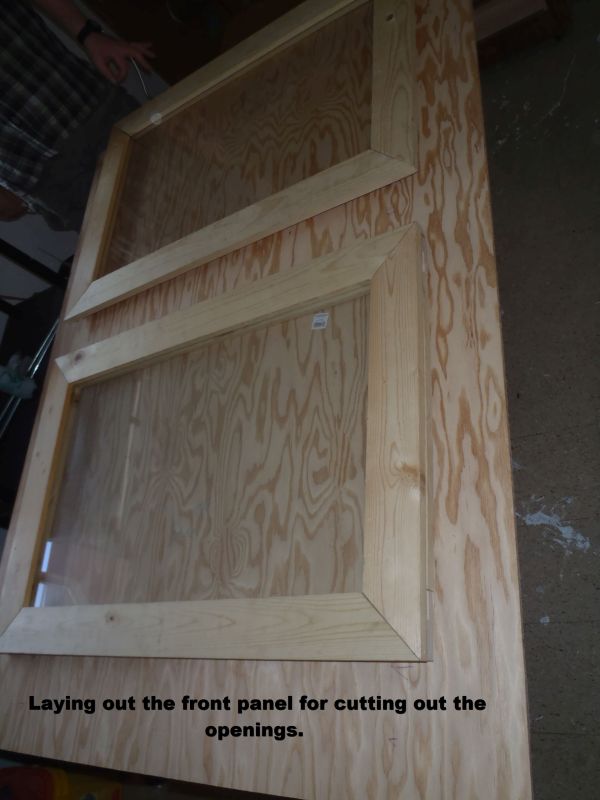
Stage two – building doors for the front to replace the sliding glass shower doors.
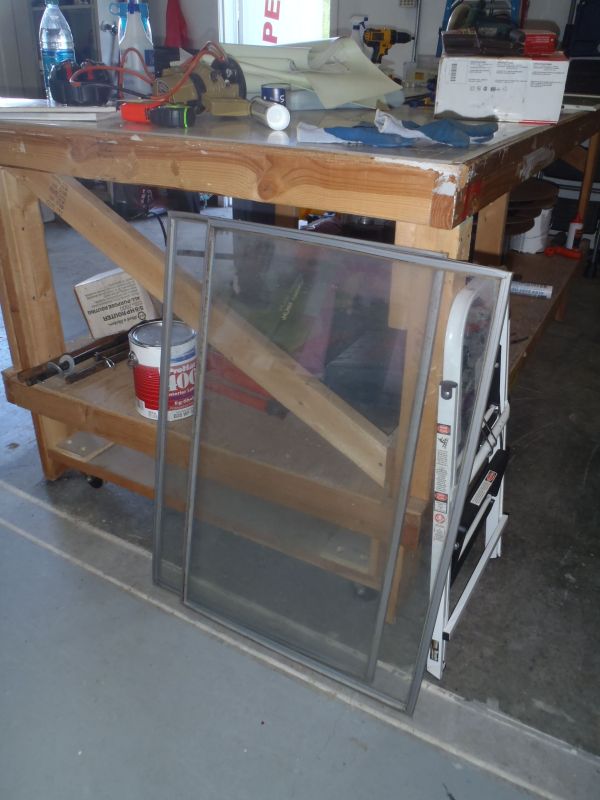
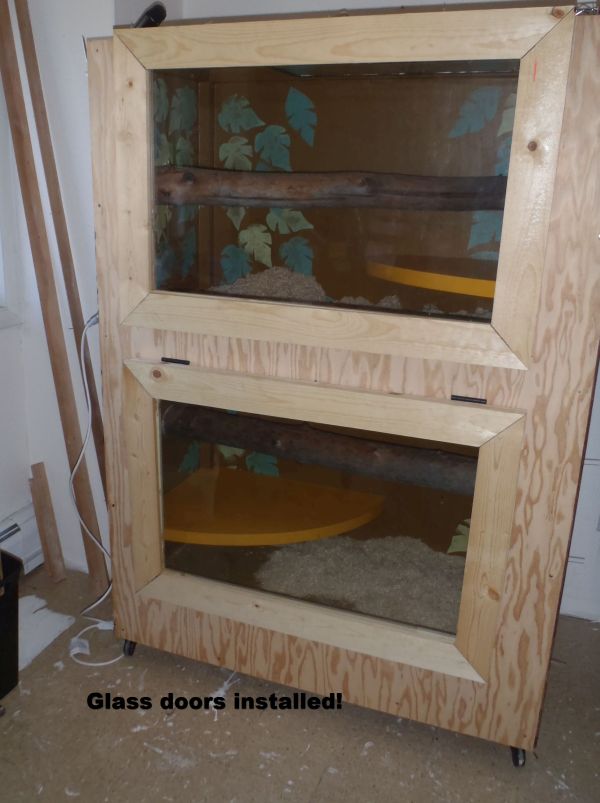
Glass purchased from a craigslist add. Â $25 each
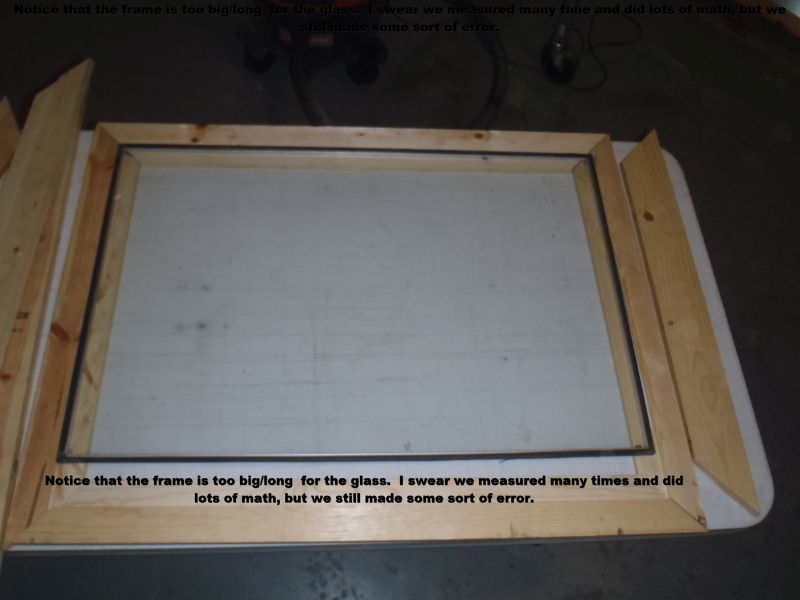
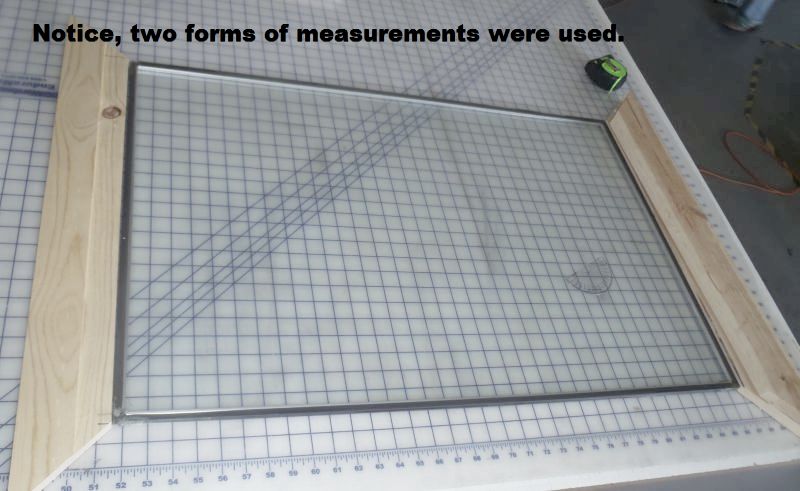
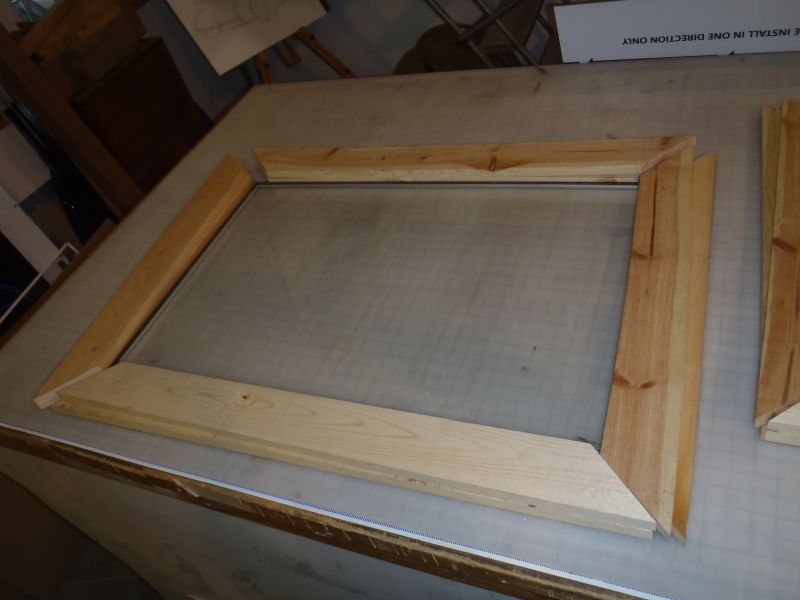
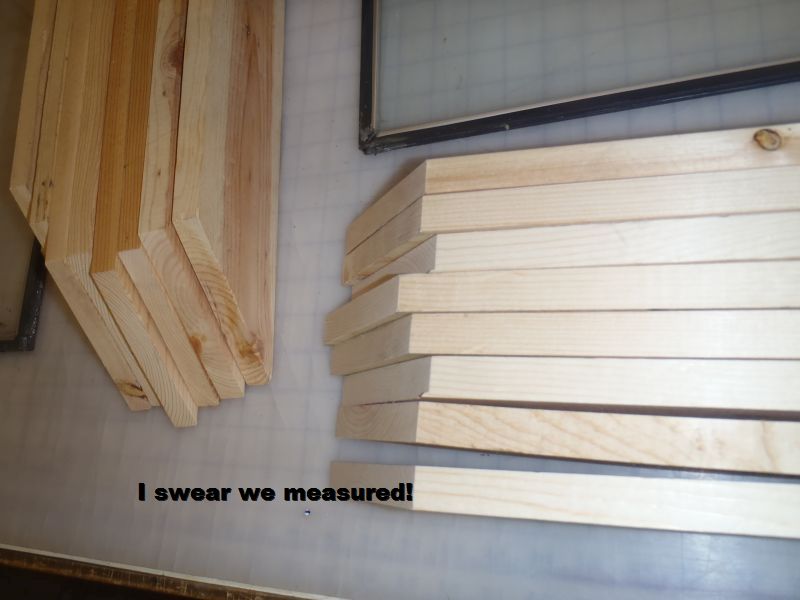
Given this is about $50 worth of wood, we decided to try to fix as much our of measurement issues with pieces we had.
Finally done with the front of the doors.
Stage three – adding lights, building out the frame and then completing the build.
About nine hours of work, two trips to the hardware store and $100 in supplies later…..
The hasps that I bought to secure the doors cracked the first one we tried to install, so I need to take them back and get slide locks. In the meantime these old-fashion gate locks seem to do the trick! I also need to add the chain to hold the doors open for me instead of holding them up myself. That will get done this week as well.
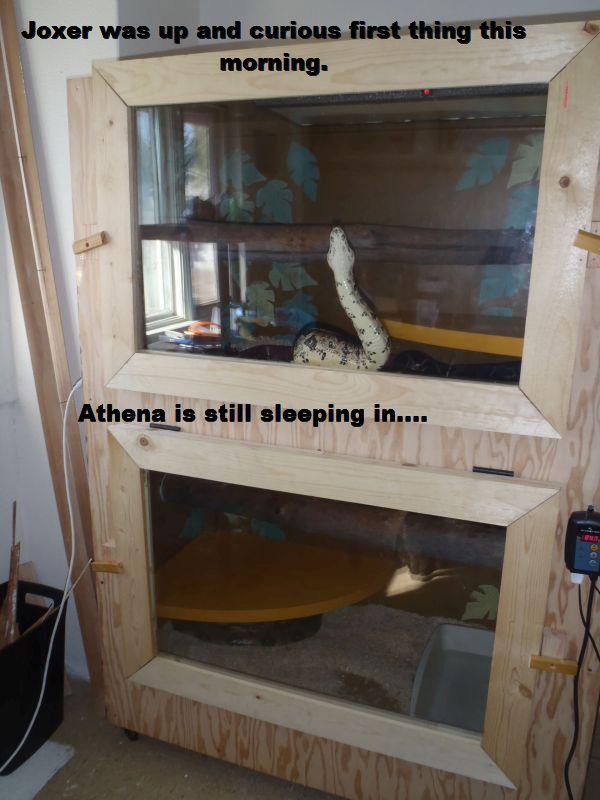
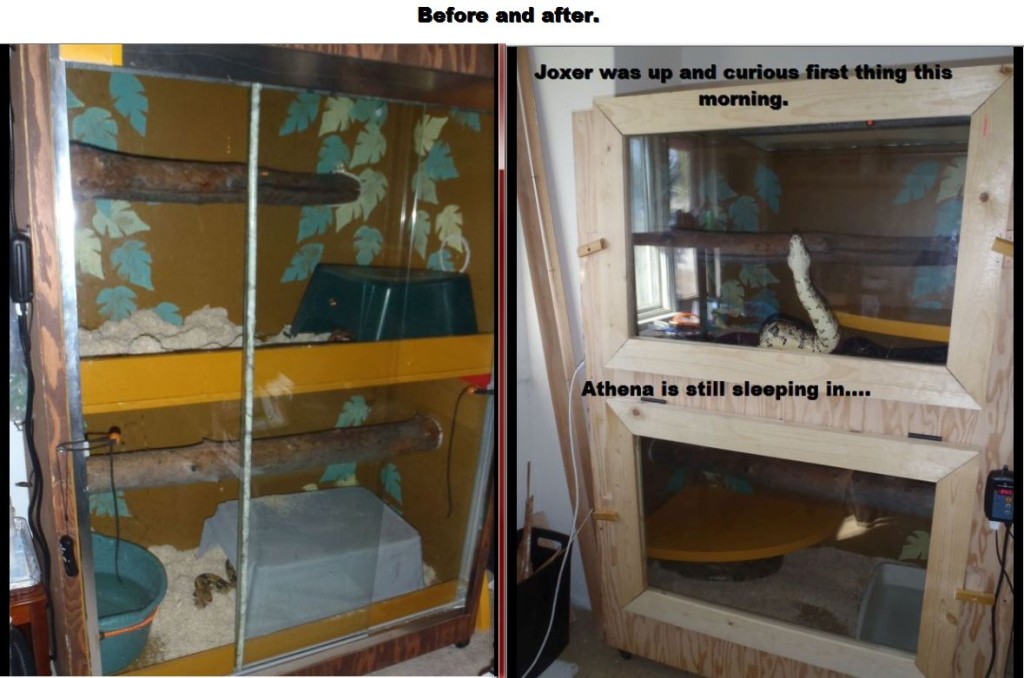
Before and after. I’m fairly confident that the snakes will enjoy the more private areas they each have now. I think the open glass made them very uncomfortable.
I did some upgrades to one of my cages this weekend and I just added these little blocks to drop the cord closer to the RHP since the tape I was using to secure it kept coming off. This seems to be working really nicely too.